Step 1
Open Photoshop and create a new document, I'm using 1920x1200 pixels.

Step 2
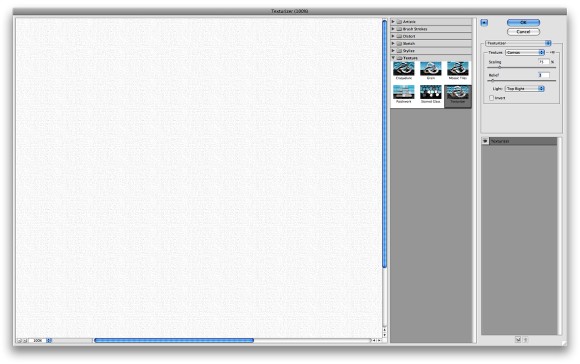
Add a new layer, fill it with white then make sure you have black and white for the foreground and background colors. Then go to Filter>Texture>Texturizer. Use Canvas for the Texture, 75% for the Scaling, 3 for the Relief and for the Light choose Top Right.
Step 3
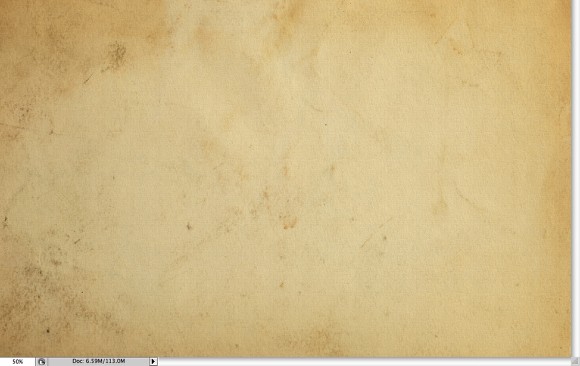
Let's add a nice texture. You can use the image of your choice it could be parchment paper for example. I'm using a image from Shutterstock that you can buy it at: http://www.shutterstock.com/pic-20845342-old-yellow-paper-background-with-scratches.html
Place the image in the document on top of the other layers. After that, change the Opacity to 75%.
Step 4
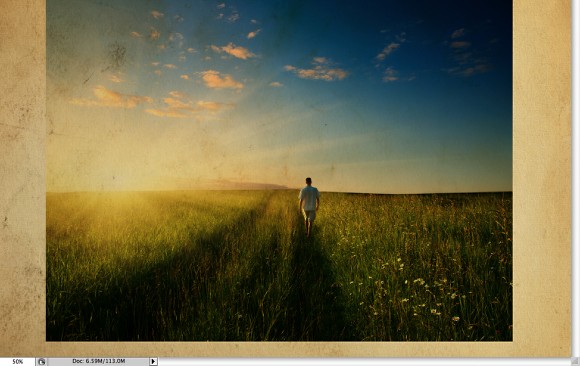
Now let's place an image in our document. I'm using a photo of a guy walking in the field from Shutterstock, you can get it here. The image has to go beneath the texture layer. After that go to Layer>Group Layer. The layer of the image will be inside a folder in the Layer Palette. Select the folder and go to Layer>Layer Mask>Hide all.
Step 5
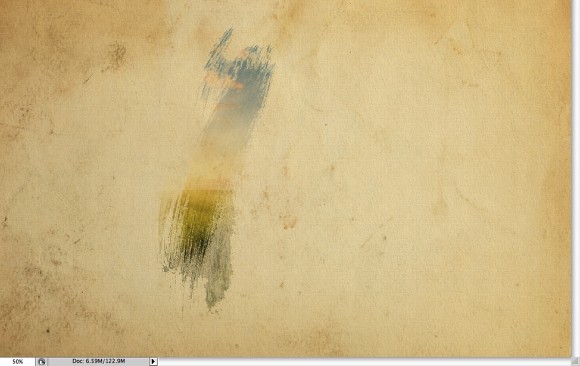
The image is hiding because of the mask. So now, let's use some Watercolor Brushes. The ones I use are from Brusheezy and you can download them here http://www.brusheezy.com/brushes?search=watercolor.
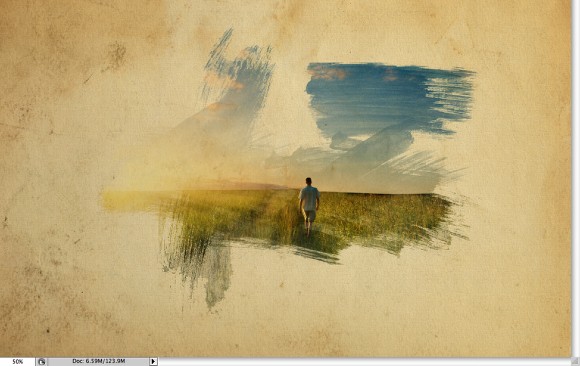
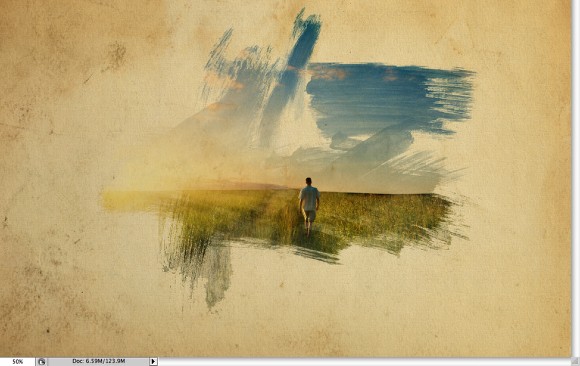
So select one of the watercolor brushes and them white for the color and paint on the layer mask of the group. You will notice that the image will start showing.
Step 6
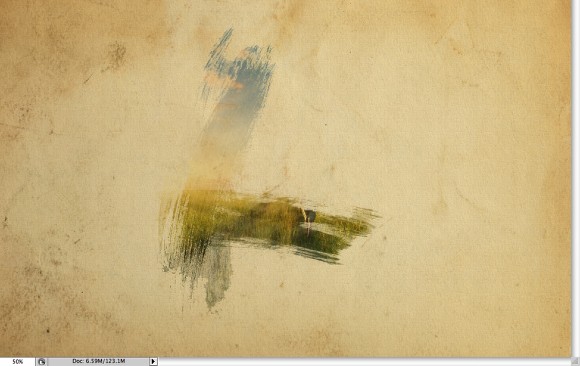
Pick another Brush and paint again.
Step 7
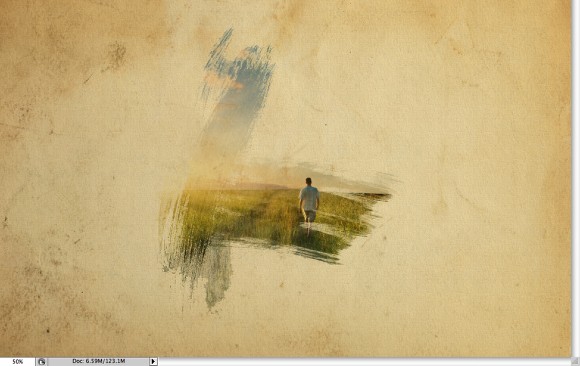
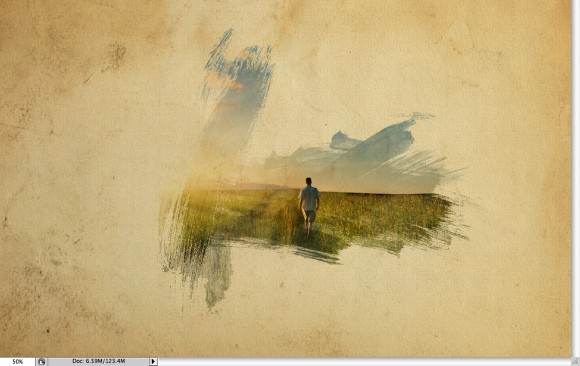
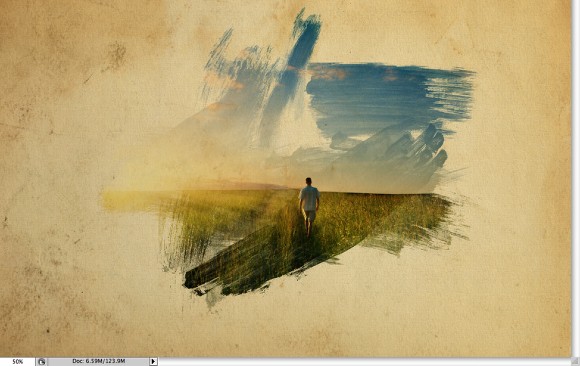
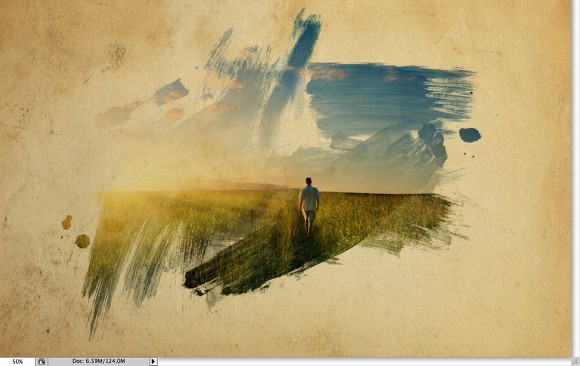
Keep painting untill you can see the image without losing the brush splatters.
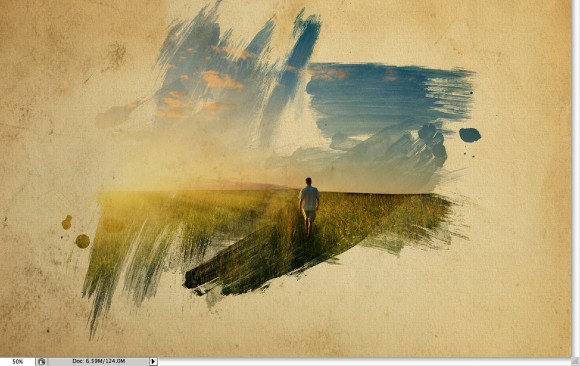
Step 8
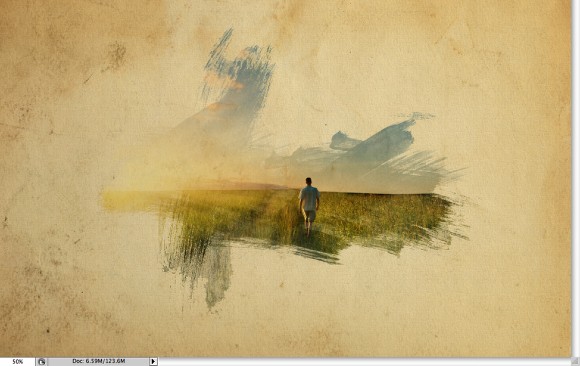
Now add another layer, this time beneath the Folder that the image is in. Then again using the watercolor brushes paint over the layer using colors like: pink, blue and yellow. Use the image below for reference.
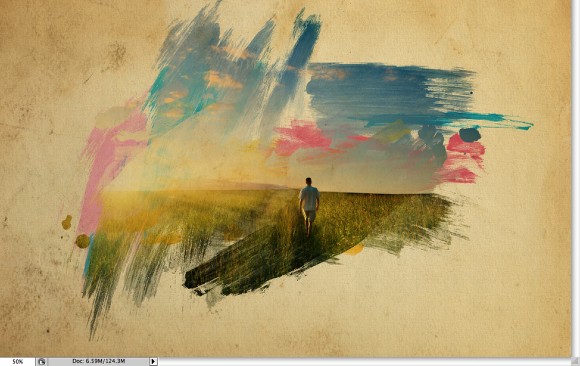
Step 9
Let's just adjust the color of the image. Select the image and go to Image>Adjustment>Photo Filter. SelectWarning Filter (85) and 55% for the Density. Also select the Preserve Luminosity option
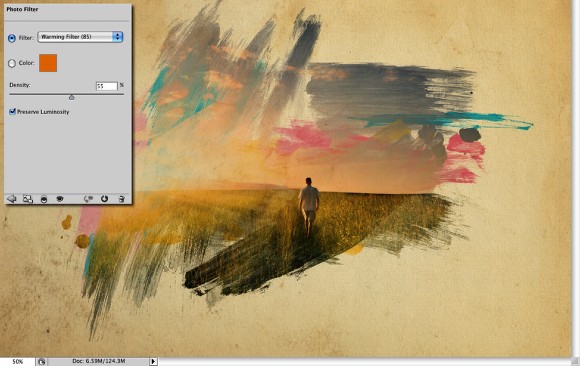
Step 10
Select the image and go to Filter>Artistic>Dry Brush. Use 0 for the Brush Size, 9 for the Brush Detail and 1 for the Texture.
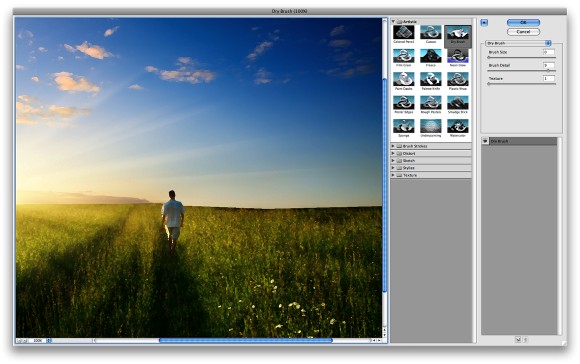
Conclusion
Just place your logo and that it you will have a really cool effect and super simple to achieve. That can be used for website headers to create a simply awesome design, and, of course to create posters. Also you can reduce the opacity of the paper texture. I reduced to 50%, that way we can drive the viewer's attention to the watercolor effect.

No comments:
Post a Comment